Starting Right: Setting up Your Imac for Recording
Before you dive into the world of capturing everything happening on your iMac screen, a little setup goes a long way 🚀. Think of it as laying down the tracks before the train runs. Make sure your iMac is up-to-date, as the latest macOS versions have cool features making screen recording a breeze. It’s also a good idea to clear any unnecessary files off your desktop; you want your recording to look clean and professional, not cluttered.
Now, let’s talk about the stage – your screen. Adjust the brightness and resolution to make sure everything looks sharp and vibrant. You don’t want your viewers squinting! Also, consider closing any applications that you won’t need during the recording. This not only helps your iMac run smoother but avoids those pesky notifications popping up mid-recording 🎥. Ready to roll? Great, your iMac is now set for its close-up!
| Step | Action |
|---|---|
| 1 | Update your iMac to the latest macOS version. |
| 2 | Clean up your desktop for a tidy recording environment. |
| 3 | Adjust screen brightness and resolution for clarity. |
| 4 | Close unnecessary applications to ensure smooth recording. |
Choosing the Best Screen Recording Software for Imac
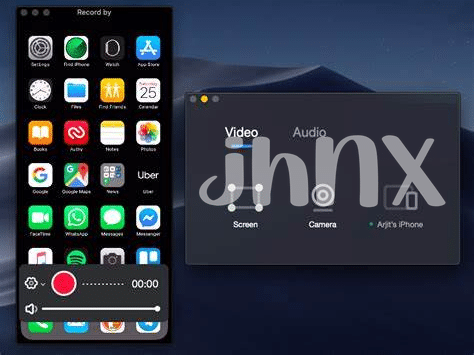
Finding the perfect app to capture everything happening on your iMac’s screen can be like searching for a needle in a haystack 🌾. It’s all about matching your specific needs—whether you’re creating a tutorial, recording a mind-blowing gaming session, or saving a video call with friends. The key is to look for software that’s both powerful and easy to use, with the ability to record high-quality video without making your computer sluggish.
But it’s not just about hitting ‘record.’ Some apps let you edit your videos right there, adding texts, effects, and even music 🎶, turning a simple screen capture into a work of art. And if you’re really looking to step up your game, check out https://iosbestapps.com/maximizing-efficiency-essential-apps-for-your-macbook-watch for some top-notch apps that can help you make the most out of your iMac, not just for recording but for all your creative endeavors.
Mastering Shortcuts: Key Combos for Efficient Recording
Knowing a few handy shortcuts can turn you into a screen recording wizard on your iMac 💻✨. Imagine starting, pausing, or stopping your recording with just a simple flick of your fingers. It’s like having a magic wand at your disposal! Plus, these keyboard combos can save you a bunch of time—time you can spend on perfecting your video. And don’t worry, you don’t need to memorize a long list of commands. Just a few key combos will get you through most of your recording needs, making the whole process smooth and hassle-free. Ready to speed up your workflow and make your screen recordings look effortlessly sleek? Let’s dive in! 🚀
Enhancing Your Recordings with External Audio Input
When you dive into screen recording, you realize quickly that crisp, clear audio is half the battle. Imagine this scenario: you’ve created a stunning video, but the sound is so low or fuzzy that your viewers can’t understand a word. Frustrating, right? 🎙️ That’s where external microphones come into play. By investing in a good mic, you not only make your voice sound professional but also keep background noise to a minimum. It’s like giving your recordings a VIP ticket to quality town. And if you’re worried about setup hassles, don’t be; connecting an external mic to your iMac is as easy as plugging in your favorite headphones. Now, your videos will not only look good, but they’ll sound good, too. Pro tip: Jazz up your recordings further by adding some music or sound effects. With quality audio, your content instantly becomes more engaging and enjoyable. Want to see examples of stunning visuals matched with top-notch audio? Head over to imac photos best app and get inspired. Remember, in the world of screen recording, clear sound is your best friend. 🎧👍
Editing Like a Pro: Basic Tips and Tricks
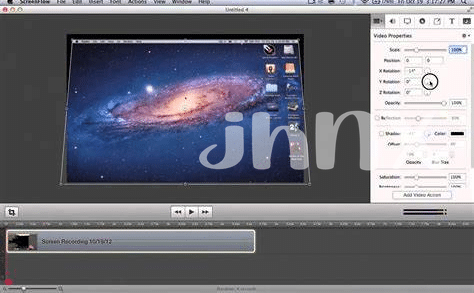
Once you’ve got your recording, it’s time to polish it until it shines. Think of editing as giving your video a haircut and new clothes to make it look its best. Start by cutting out any mistakes or long pauses—like snipping away split ends. Brighten up your video by adjusting the light and color, making it pop like a sunny day. If your recording’s sound is more whisper than roar, boost it up or add some catchy tunes in the background. And don’t forget the magic of adding text or fun graphics—they’re like the accessories that bring an outfit together. To keep it all straight, here’s a quick table to guide you:
| 🔧 Task | 💡 Tip |
| Trimming | Keep only the best parts; like pruning a bush for the best shape. |
| Color Adjusting | Make it vibrant; like adding a splash of color to a dull room. |
| Audio Enhancing | Clear and loud; make sure your audience can hear every word. |
| Adding Music | Set the tone; like picking the perfect soundtrack for your day. |
| Text/Graphics | Clarify and decorate; the final touch that makes your video stand out. |
Armed with these tips, you’re ready to turn your raw footage into a captivating story that your audience will love.
Sharing Your Masterpiece: Best Formats and Platforms
Once you’ve put in the effort to create a captivating recording, it’s time to share your work with the world 🌍. The right format can make a huge difference in quality and compatibility. MP4 is a go-to due to its balance of quality and file size, making it perfect for both web and mobile viewing. When it comes to where to share, think about who you want to reach. Platforms like YouTube are great for a wide audience, while Vimeo might be the choice for a more professional look. For those moments when you want to fine-tune your Mac’s performance before sharing, check out macbook stockx best app. Remember, the goal is to get your content seen by as many eyes as possible, so don’t shy away from experimenting with different formats and platforms 📤👀.


