

Getting Started: Downloading Google Sheets on Your Ipad
Imagine turning your iPad into a super tool for keeping all your plans, lists, and spreadsheets in one place. 🚀 By adding Google Sheets to your iPad, you’re just a few taps away from organizing your world like a pro. First things first, let’s get you set up. Head over to the App Store, and in the search bar, type “Google Sheets.” Hit that download button, and voilà, it’s like your iPad has learned a new skill. 📱💡Remember, it’s totally free, so you’re about to unlock some serious organizing power without spending a dime.
| Step | Action | Note |
|---|---|---|
| 1 | Open the App Store on your iPad. | – |
| 2 | Search for “Google Sheets.” | Make sure your internet connection is stable. |
| 3 | Tap “Download.” | Waiting time depends on your internet speed. |
| 4 | Open Google Sheets and sign in with your Google account. | If you don’t have a Google account, you’ll need to create one. |
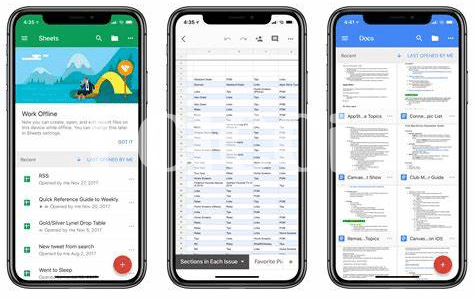
Familiarize Yourself with the Interface on Ipad
Once you’ve got Google Sheets dancing at your fingertips on your iPad, stepping into its world can feel like unlocking a treasure chest 🚀. The layout is clean, with all the tools you need neatly tucked away, yet easily accessible. Dive in and you’ll find the essentials – your sheets, recent documents, and a button to create new magic. Plus, navigating between cells is a breeze, almost like leafing through the pages of your favorite book.
Exploring this digital playground, you might stumble upon an exciting discovery: the ability to tweak and tune your documents to your heart’s content ✨. Whether it’s tapping to select cells or dragging to adjust their size, everything feels intuitive. It’s like the app and your iPad are in perfect harmony, ready to bring your ideas to life. And if you’re eager to dive deeper into what your iPad can do, don’t miss out on https://iosbestapps.com/maximizing-your-arlo-experience-on-ios-devices, where more adventures await.
Mastering Basic Functions: Editing and Formatting Cells
Diving into the world of Google Sheets on your iPad, you’ll quickly discover the joy of tweaking your documents to perfection. Think of each cell as a tiny box of potential. 🌟 Whether you want to spruce up your text with bold or italics, change your number formats, or even dab a bit of color here and there, it’s all within reach. Imagine you’re painting, but instead of a brush, you’re using your fingertips on the screen.
Now, let’s add a bit of magic with a simple tap here and a swipe there. Voilà! Your canvas comes to life. This is where you graduate from just making things look pretty to turning your spreadsheet into a functional masterpiece. 💫 Adjusting the size of your cells to make everything fit just right or merging a few to make a title stand out, these small touches make your work not just viewable but truly readable. Remember, a well-formatted spreadsheet can transform numbers and data into a story that everyone can understand.
Advanced Tips: Using Formulas and Functions Effectively
Once you’ve got the hang of the basics on Google Sheets for iPad, it’s time to step up your game 🚀. Think of formulas and functions as your magic spells to make numbers dance and sing 🎩✨. Whether you’re calculating your expenses, summarizing survey results, or creating a homemade budget tracker, knowing how to mix these magic ingredients can transform columns of numbers into insightful conclusions with just a few taps. And hey, don’t sweat if you’re not a math wizard; some functions do most of the heavy lifting for you, like automatically adding up all your numbers or finding an average. Want to really speed up your workflow and impress your colleagues or classmates? Just sprinkle in some shortcuts and add-ons to make everything smoother. Speaking of making tasks smoother, check out the ipad uber app for a spin on how to elevate stories with images on your iPad. So, let’s dive into those formulas and functions – your spreadsheet skills are about to level up!
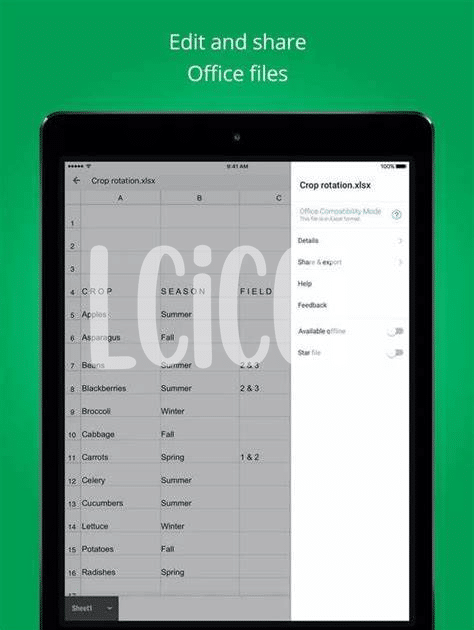
Collaborating in Real-time: Sharing and Permissions
Imagine you’re working on a big project and you’ve got teammates all over the place. With Google Sheets on your iPad, you can bring everyone together without actually being in the same room. 🌏✨ By sharing your spreadsheet, you can grant access to your fellow collaborators to view, comment on, or even edit the document, depending on the permissions you set. It’s like having a magic workspace where everyone can contribute their part in real time. 🚀 Plus, you can keep track of who made what changes with the version history feature. It’s super useful for keeping projects on track and making sure everyone’s voice is heard. Here’s a quick peek at how simple it is to share your work:
| Step | Action |
|---|---|
| 1 | Open your spreadsheet on your iPad |
| 2 | Tap on the ‘Share’ button |
| 3 | Choose how you want to share and set permissions |
| 4 | Add people or groups to share with |
Now, your team can jump in and do their part. It’s collaboration made easy and efficient, turning your solo project into a team victory.
Optimizing Your Experience: Keyboard Shortcuts and Add-ons
Want to make your spreadsheet tasks faster and more fun on your iPad? 🚀 Dive into the world of keyboard shortcuts! They’re like secret codes that help you do things quickly, without having to tap through menus. Imagine copying text with just a tap combo instead of hunting down the copy option. 🤯 Plus, there’s a universe of add-ons waiting to be explored. Add-ons are like little helpers that you can add to Google Sheets to do extra things, such as creating beautiful charts or managing your data in ways you never thought possible.
Now, to make your Google Sheets adventure on your iPad even more exciting, why not bring some creativity into the mix? There’s this thing called ios pic collage that’s perfect for adding a dash of fun to your projects. Think of it as your magic wand to sprinkle creativity all over your sheets. Combining the power of keyboard shortcuts, the genius of add-ons, and a pinch of creativity, you’re all set to transform your spreadsheet tasks from mundane to magical! ✨